
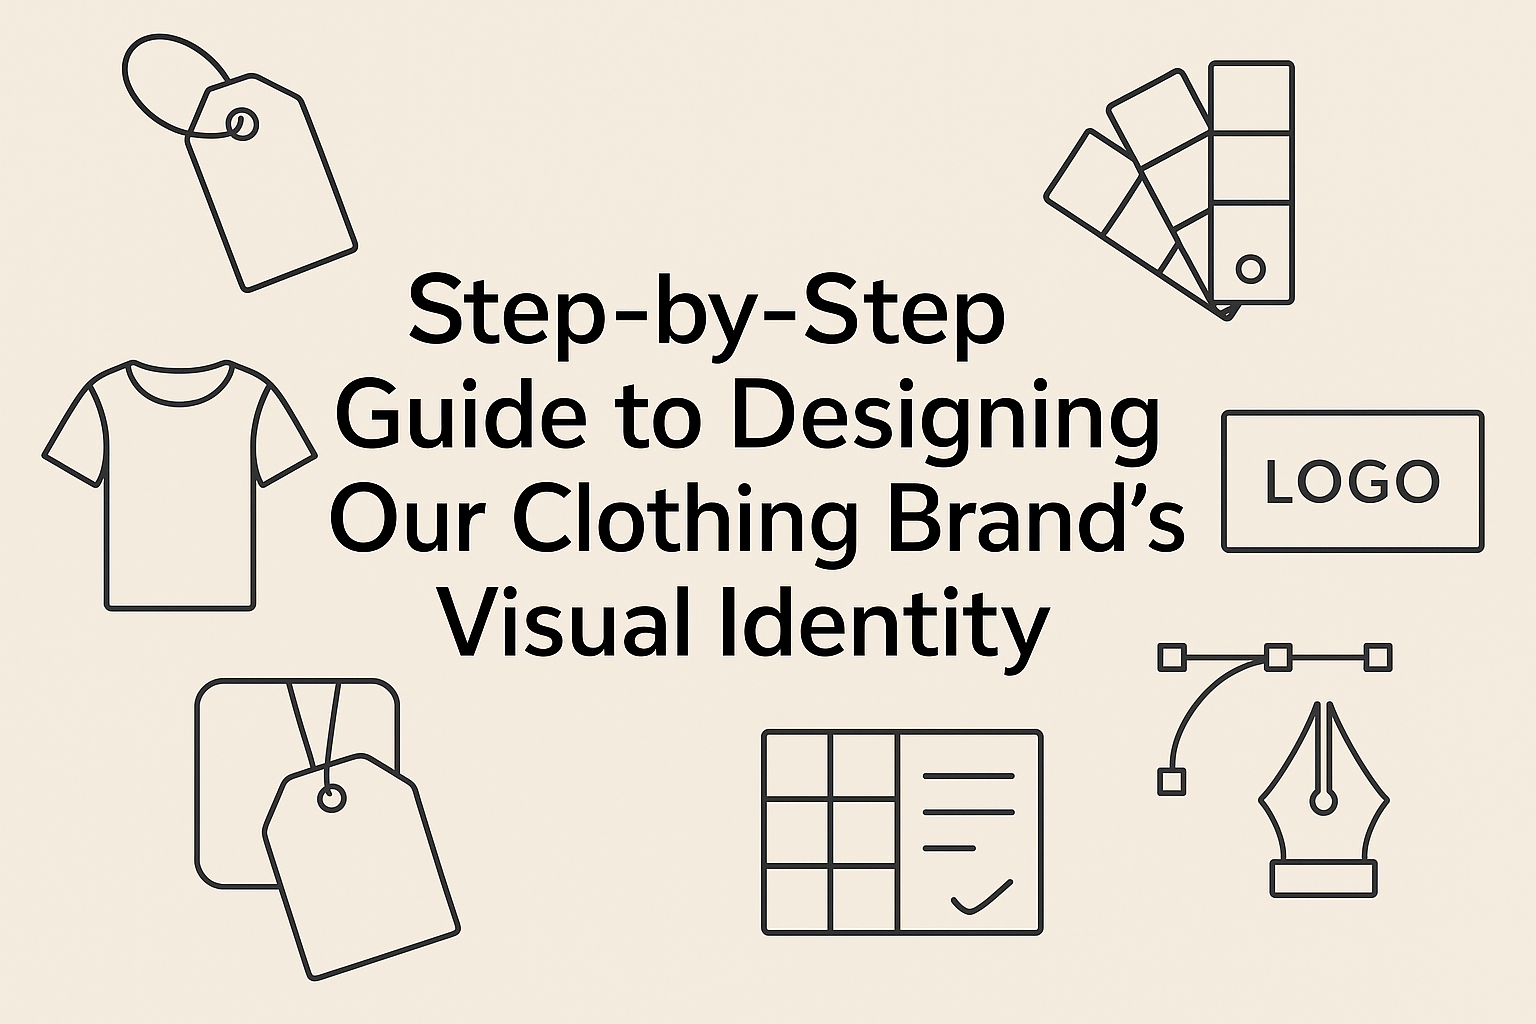
Magazine
Step-by-Step Guide to Designing Our Clothing Brand’s Visual Identity
Why Our Visual Identity Matters — And How We’ll Build It
We will follow a step-by-step process to design a cohesive visual identity that expresses our values, connects with our customers, and scales across touchpoints. Each step delivers clear, actionable outcomes to ensure consistency, recognition, and growth for our clothing brand.
What We Need Before We Start
Step 1 — Define Our Brand Core
Who are we really — and why will customers care? (One sentence that changes everything.)Define our purpose, mission, values, personality, and audience before any visual work. Convene a 60–90 minute stakeholder workshop (founder, designer, marketer, product lead). Ask three focused questions: why we exist, who we serve, and how we want to feel to customers.
Write a one-line brand promise together. Keep it specific and tangible. Example: “We create durable, minimalist streetwear that helps busy creatives look put-together with zero fuss.”
Capture 3–5 personality traits that will steer tone and visuals. Choose clear, actionable words like Confident, Uncomplicated, Craft-focused, Playful, Sustainable. Use these traits when debating logo moods, photography style, or packaging.
Build two audience personas that include motivations, primary pain points, and visual preferences. Example persona: Alex, 28, freelance designer — motivated by longevity and low-effort style; pain: clothes that wear out fast; visual preference: neutral palettes, clean layouts, candid lifestyle shots. Example persona: Maya, 34, project manager — motivated by professional versatility; pain: finding elevated basics; visual preference: subtle textures, warm tones, polished imagery.
Follow with immediate deliverables to guide design choices:
Step 2 — Audit the Market and Our Visual Landscape
What’s working (and what’s painfully boring)? Let’s steal the good stuff and avoid the clichés.Conduct a competitive and inspirational visual audit. Gather 15–25 brand examples across fashion and lifestyle—mix direct competitors, adjacent categories, and surprising non-fashion references. Save screenshots, links, and note the date and context for each example.
Compare and record patterns across these visual layers:
Map competitor positioning on a simple 2×2 grid (e.g., Minimal → Expressive; Affordable → Premium) to reveal clusters and empty spaces. Flag repetitive conventions we should avoid and distinct moves we can adapt.
Synthesize findings into clear deliverables:
We conduct a competitive and inspirational visual audit: collect 15–25 brand examples across fashion and lifestyle categories, noting patterns in logos, color palettes, typography, photography, and packaging. We map opportunities and gaps—where competitors cluster and where our voice can stand out. We’ll document dos and don’ts and extract 6 visual keywords (e.g., tactile, minimal, playful) that translate into design directions.
Step 3 — Create a Moodboard and Visual Direction
Moodboards aren’t fluff — they’re our visual contract. Which of these three vibes will make people stop scrolling?Gather our research and translate it into 2–3 clear visual directions. For each direction, assemble: color swatches, photography styles, textures, logo sketches, and 1–2 sample layouts. Work fast—use image tiles and short captions rather than long paragraphs.
Synthesize each direction with three short notes: Emotional intent (how it should feel), Target usage (web, hangtags, hero campaigns), and Brand-fit rationale (why this aligns with our core). For example: a “Modern Heritage” board with warm neutrals, grainy film photos, and refined serif logos for premium outerwear; an “Urban Playful” board with bright accents, candid street photography, and bold typographic marks for seasonal drops.
Present all boards to stakeholders, gather feedback, and iterate quickly. Vote to select one primary direction and one secondary for flexible use.
Deliverables:
Step 4 — Design the Logo and Key Marks
A logo is a workhorse, not a shrine. How to make one that survives tags, tags, and trends?Translate the chosen visual direction into concrete logo concepts. Sketch and build wordmarks, symbols, and lockup variations tailored for labels, web headers, and small-scale uses.
Design three-to-five distinct directions, then refine each into digital comps. For each concept, create quick mockups: a woven hangtag, a social avatar, a stitched sleeve label, and a website header. Check each mockup for scalability (minimum sizes), legibility (thin strokes, counters), and recognizability at a glance — e.g., ensure an emblem still reads at 24 px for avatars and 6 mm on tags.
Test contrasts and treatments: single-color, reversed, and embossed/debossed versions. Gather our team for a short preference vote and record feedback.
Deliverables:
We iterate with 3–5 refined options, run a quick internal preference test, and finalize primary and secondary marks plus usage rules.
Step 5 — Define Color, Typography, and Visual Systems
Color and type do more heavy lifting than you think — can we make every touch feel unmistakably ours?Establish our toolkit: create measurable palettes, type rules, and reusable visual assets.
Specify primary and secondary palettes with HEX and CMYK and set contrast targets (body text ≥ 4.5:1, large text ≥ 3:1). Example: Primary Navy — #0A2342 / C100 M80 Y40 K60; Accent Coral — #FF6B6B / C0 M60 Y40 K0.
Choose a typography system: pick a headline face, a body face, and web-safe fallbacks. Example: Headline — Montserrat Bold; Body — Inter Regular; Fallbacks — system-ui, Arial, sans-serif. Define sizes, line-height, and minimum readable sizes.
Define iconography: set stroke weight, corner radius, and use cases (filled for badges, stroke for UI). Provide photography treatments: color grade (warm +10% saturation), shallow depth, and 20% vignette for legibility.
Create pattern & texture systems for labels/packaging (scale guides, repeat tiles, emboss-friendly versions).
Provide clear pairing rules and show examples:
Step 6 — Create the Brand Guidelines and Rollout Plan
How do we keep this from melting into chaos? A practical playbook and a rollout schedule do the trick.Compile a concise, actionable brand guideline (digital PDF + editable Figma) that documents our logo, color systems, typography, imagery treatments, tone, and application examples for web, social, packaging, and hangtags.
Include clear application examples and quick “do / don’t” spreads; for example, show a hangtag layout with bleed and a web header with spacing and contrast notes so teams can replicate them exactly.
Create an implementation checklist for product, e‑commerce, and marketing teams listing required files, specs, contacts, and approval gates so we avoid last‑minute rework.
Build a 90‑day rollout timeline with weekly priorities, named owners, milestone QA checkpoints (proof approvals, sample reviews, A/B test launch), and contingency steps; for example, schedule packaging proofs in week 3 and template QA in week 4.
Prepare final deliverables and handoff materials for the teams.
Deliver the guideline file, assets package, and rollout calendar to our teams and schedule a kickoff training.
From Concept to Consistency
Following these steps, we’ll build a cohesive visual identity and an actionable rollout plan that scales across products and channels. Let’s try it, document our process, and share the results — start now and show the world what our brand becomes.

Love the accessibility callout in Step 5 about color and typography.
Quick ask: any font-size / contrast ratio recommendations that worked for you in product pages vs marketing pages? I get tripped up between style and readability.
Thanks Marcus — we’ll add a short table with recommended minimum contrast ratios (WCAG AA/AAA) and practical font-size baselines: e.g., body text 16px+ on web, headings scaled proportionally, and high-contrast CTAs.
For product pages I keep body at 16–18px and use 600–700 contrast on body copy. Marketing headers can be more playful but still test on mobile.
Nice guide but lol: ‘design the logo’ — easier said than done 😂
Wish you included a mini checklist for logo files (SVG, PNG, favicon, etc.). Took me forever to realize I needed an SVG for web.
Yes! And maybe include recommended export settings (outline type, embed fonts for PDFs). Saved me a headache when handing off to printers.
Good call — we’ll add a concise file-export checklist for logos (SVG, PDF, PNG 2x/3x, favicon ICO) in Step 4.
Quick practical tip for Step 2 (market audit): use a simple spreadsheet with columns: Brand, Color palette, Logo style, Imagery, Notes. Makes pattern-spotting way faster than just screenshots.
Nice one Liam — we’ll add a sample audit spreadsheet download in Step 2.
I do that plus a ‘differentiation score’ column (1–5) to quantify how unique each competitor looks. Helps prioritize.
Really enjoyed the moodboard section — I found the example visuals super helpful.
Couple of newbie questions:
– When creating a moodboard, how strict should you be about color palette vs. just ‘vibes’?
– If you find competitor logos you like, what’s the best way to use them without copying?
I usually separate moodboards into: imagery, textures, type vibes, and color blocks — keeps things organized. Would love to see a downloadable moodboard template!
I do the same split — separates creative thinking from technical choices. For competitors: analyze WHY you like it (contrast? unique letterforms?) not just WHAT.
A downloadable template would be clutch. Thumbs up for textures as a separate section — they really inform packaging and in-store displays.
Tip: when you collect competitor logos, put a sticky note next to each saying ‘Do NOT copy’ — saved my conscience once 😂
Great questions Olivia. Be flexible with moodboards — ‘vibes’ can be broader initially, then refine colors into swatches in Step 5. For competitor inspirations: call them ‘reference’ and note what you like (shape, spacing, feeling) without tracing or using unique marks.
This guide is super thorough — love how it walks through from the brand core to rollout.
A couple of thoughts:
1) The ‘Define Our Brand Core’ section is great but could use more prompts for emotional descriptors (e.g., ‘nostalgic’, ‘rebellious’, ‘minimalist’).
2) For the moodboard step, I’d add an example of how to turn those images into a short verbal direction (1–2 sentences) you can hand to a designer.
3) Rollout plan — timelines and quick wins would help (like what to change first on the website vs. product tags).
Overall: very practical and usable. Thanks!
Also +1 for the rollout quick wins. Start with touchpoints customers see daily — tags, social headers, then product pages. Less risky and more visible.
Thanks Emma — love those suggestions. We’ll add a small checklist for emotional descriptors and a sample verbal direction for moodboards in the next update.
Totally agree on the verbal direction — designers hate vague boards. Give them a line like: ‘vintage athletic, warm tones, honest materials’ and you’re golden.
Great read — some playful thoughts: if our brand is ‘rebellious vintage’ should our moodboard include an angry squirrel? Kidding 😂 But seriously, how do you decide when to be literal vs. metaphorical in visuals?
Also, any recommended books or portfolios for logo inspiration? I need more eyeballs on good work.
PS: Love the ‘From Concept to Consistency’ wrap-up — feels like the pep talk designers deserve.
Ha — an angry squirrel could be iconic 😉 For literal vs metaphorical: pick one dominant lens and keep it consistent across touchpoints. We’ll add a short reading list and portfolio links for logo inspiration.
If you like metaphorical, look at companies that use negative space cleverly — gives that ‘clever but simple’ feel.
For logos: check out Michael Bierut’s work, and the Brand New archives. Great case studies on concept clarity.
This is solid but I found the rollout section a bit optimistic 😅
We tried something similar and underestimated how long guideline enforcement takes — teams keep using old assets for MONTHS.
My 2 cents:
– Add a ‘legacy asset freeze’ checklist
– Assign one person as brand gatekeeper for 90 days
– Provide templated email/Slack messages for announcing the new look
Also, tiny typo in Step 6: ‘guidelienes’ -> ‘guidelines’ (lol). Fix pls 🙏✨
The ‘brand gatekeeper’ idea is gold. Someone has to say ‘nope’ when an old logo sneaks into a PDF.
Really helpful, thanks Priya — we’re adding a practical enforcement checklist and a sample announcement template. And fixed the typo 👍
Legacy asset freeze is realistic. Maybe include an asset retirement timeline (30/60/90 days) with owners.
Agree on templates — saves time and avoids inconsistent messaging across departments.
Also include a visual QA checklist for marketing folks so they can self-check before publishing 😊